A couple weeks back I used a glycerin solution to
soften/flatten veneer for the first time…lots of firsts in the Second Wind
Workshop.
These veneer sheets were pretty brittle (from NM to MN to CO…now
there’s some climate change) and had some pretty hard waves. Nothing too drastic, but being a rookie
veneerer I was a little nervous about cracking the sheets when gluing them up,
so I went ahead with the glycerin treatment.
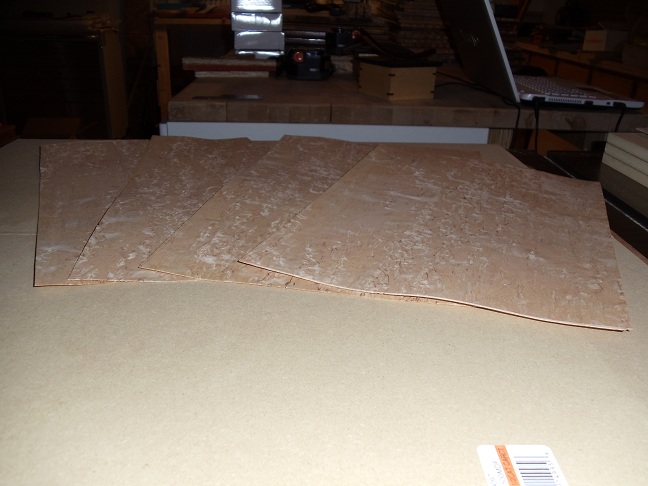
Here are a few pics of the veneer coming out of my makeshift press.


I started my veneering adventure with a sheet of the English
Sycamore and I used 1/8th inch thick MDF as the substrate.

A fresh utility knife blade did a great job in making a
nice, clean cut.

I’m using Titebond’s Cold Press glue and spreading it with a
plastic Bondo applicator. I picked up a
three pack for just a couple bucks and they work great for spreading the glue.

Once I laid the veneer onto the glue the edges started to
curl up pretty quickly so I didn’t have time for a picture. I sandwiched the panel in wax paper and a
couple of 1/2 inch MDF boards and got the clamps on as quick as I could.

With my first piece of Sycamore under pressure, I turned to
the Karelian Birch.

These sheets are a bit larger than the Sycamore, so I tried
a larger panel to maximize the veneer.
Same drill…lots of glue.

The edges started to curl up a little on this sheet as well,
not nearly as quickly as the Sycamore though.

As you can see, I loaded up the perimeter of the veneer sandwiches
with all of my small bar clamps and then ran a caul across the middle, on both
sides, to equalize the pressure over the entire surface.


I removed the Sycamore panel from the clamps after about
four hours. After another few hours had
passed I learned a valuable lesson…even a thin sheet of wood will begin moving
as moisture leaves the surface. Since I
had only veneered one side of the MDF panel it started to bow as the moisture
was released. The Sycamore contracted as
the glue dried and it pulled my panel into an arc…not the look I was going for.

You can see how drastic the movement was when compared to
this straight piece of plywood.

So now I know why it’s critical to veneer both sides of the
panel. I knew this to be common advice
from my fellow woodworkers. I just didn’t
expect this thing to become a potato chip so quickly.
When I removed the Karelian Birch panel from the clamp-up I
noticed that the surface still felt a little damp. I may have used a little too much glue. Rather than wait for this one to curl up, I
placed it between a few stickers and put it under weight to let it dry.

After drying overnight, under pressure, this panel actually came
out pretty flat. I didn’t take any
chances though, and went straight to veneering the other side. I’m happy to report that I was rewarded with
a flat piece that will make for some nice box lid panels.

I had also loaded up the Sycamore potato chip with weights
and let it sit overnight.


Armed with the lesson of a close call, I veneered a second
panel of each type…this time gluing up veneers on both sides at the same
time. It made for quite a scramble to
glue up one side and then flip the whole mess over, while the first piece of
veneer was trying to curl up. I was able
to get them into the clamps and the attempts turned out to be quite
successful. Here are my panels after
some trimming on the table saw.

The second Karelian Birch panel was still drying under weight
when I took this last picture, but it looks just as nice as that first one…of
course I am a pretty biased, proud parent.
And thus ends my first foray into the world of pressing
veneered panels. Feel free to shoot me
any questions on my process or my results, and I’d love to hear some critique
from those of you who have gone before and maybe learned a few other lessons
that I was spared this time around.
Pete
4 comments:
You're right.... each picture WAS cuter than the last! ;)
Looks good bro!
Thanks Jac! More to come.
Nice post and Pics. Thanks for sharing information regarding First Veneered Panels. I read your post and it's very informatics post. I really appreciate for that.
MDF | MDF Boards
Nice post with good images.
Veneer Manufacturer in India, flush door Manufacturer in India
Post a Comment