In the spirit of celebrating those little missteps that make
us rethink, reevaluate and recover, I offer you three Padauk boxes that have
been sitting on my unfinished projects shelf for some time now.

These boxes are made from a couple of very special Padauk boards
with both heartwood (red) and sapwood (white.)
The intent was to have the transition line between heartwood and sapwood
wrap around all four corners. For any of
my long-time readers, you may remember this…
I’ve since learned a different way to achieve this effect
with some creative resawing, however that doesn’t solve the issue with two of
these three boxes.


I then pressed the Thin Rip Jig into service (find this little gem at www.rockler.com ) to cut inlay strips from some quartersawn Wenge stock.

I decided to experiment with two different looks. Some of the inlay features the face (tight grain lines) and some of it shows off the wilder edge grain surface.

I attempted to trim the inlay pieces, with mitered corners to match the box joinery, on the table saw. The pieces are so small and the Wenge is so brittle that many of the cuts chipped out…very ugly! If you’re looking to spend a little bit more of your woodworking allowance (You do get one, right? J) you can pick up this great little Razor Saw and miter box from www.leevalley.com for about $30.
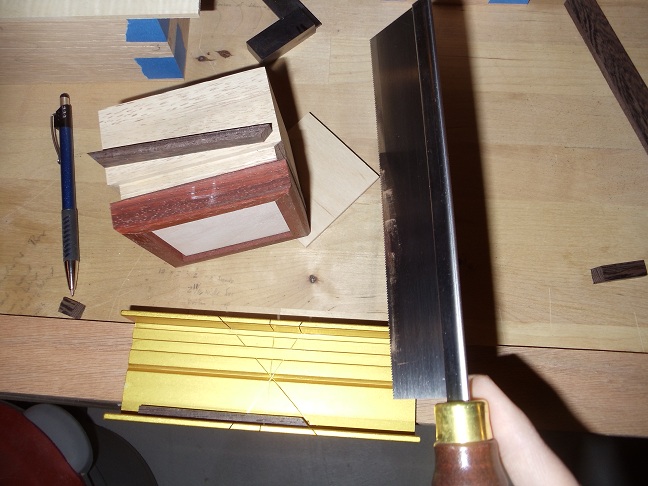
The Razor Saw gave me perfect, clean miter cuts. I worked my way around the sides of the boxes, cutting each piece precisely to fit.

Every now and then a little tuning was required on the cordless sander.

Once all four pieces were cut I taped them up into a dry fit to test all of the mitered joints.

Then it was time to lock it all in with the glue and clamps.


I left the inlays just a little proud in thickness so that I could trim them flush once the glue had cured. The box that does have a successful transition around all four corners was left alone. I make mistakes, but I’m no dummy!

Dad’s old Lie-Nielsen chisel plane did a great job paring down the Wenge strips.

Then it was back to the cordless sander to clean up all of the surfaces.
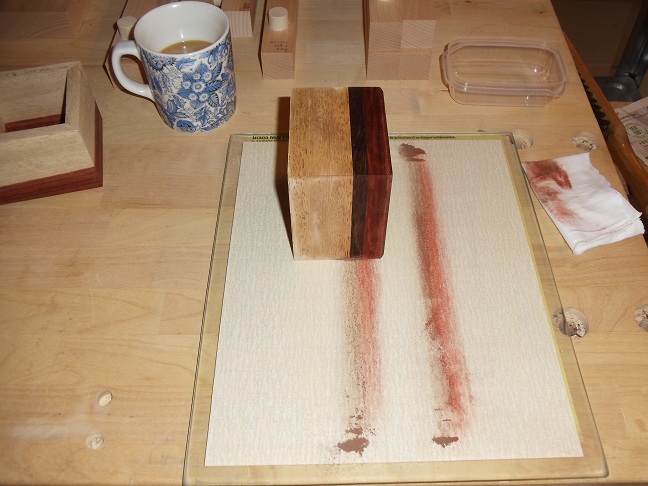
I find myself using this piece of plate glass with sandpaper on most of my smaller projects now. It’s a great way to turn a piece of sandpaper into a fine tuning tool, and it doesn’t make any noise…perfect for those late night, gotta-get-some-shop-time sessions that occur when the rest of the family is asleep.
Tune in next time to see how we’ll put a lid on these boxes
and move them from the unfinished project shelf for good!
Pete

4 comments:
Finished result looks good. I have never used such a large amount of sapwood on a project. How did it work in comparison to the heart wood?
There wasn't much difference between heartwood and sapwood in workability. Maybe a little less hardness in the sapwood, but not enough that I had to change any work methods. These boards have fairly straight grain and had been sawn quite a few years ago though, so lots of time drying/stabilizing on the rack.
I see you have done a Reitveld chair. I am thinking of doing the same as I like the Berlin Chair. Do you know where I can find drawings with dimensions?
Andrew,
My sister gave me a book of Rietveld's plans for Christmas, and it does include the Berlin Chair. "How to Construct Rietveld Furniture" It has instructions in both English and Dutch, and includes all of his original dimensions.
Post a Comment