Pages

Sunday, February 13, 2011

Groovin' on a Saturday Afternoon

We’re having a heat wave…a tropical heat wave…  Well, 33 degrees in February, in Minnesota is practically tropical!  After just a couple hours of prep time with the heater, the shop was actually pretty comfortable to work in. 
Today I broke out the new Freud rip blade my Dad sent to me for my birthday last year.  He and I were discussing the need for a blade with a flat tooth grind to cut clean, flat grooves for corner splines on boxes.  I thought I’d have to special order a blade, but he remembered that Freud had a 24 tooth rip blade with a flat grind.  He called me back about an hour after our conversation and said not to order anything, and that my birthday present was on the way.

I knew I’d be adding corner splines on some of these boxes, so I decided to also use the blade to cut the grooves in the box sides that will receive the bottoms.  Not only does this blade cut a flat bottom, but the kerf is exactly 1/8 inches wide…just the right size for the grooves. 

One of the keys to making this many boxes at once is keeping all the parts together and in line.  To cut the grooves while keeping the parts in order, I marked each side piece with an arrow to indicate the position of the top of the box.

I set the blade for a 3/16 inch deep cut, and set the rip fence at 1/4 inch away from the blade.  I then used the arrow as an indicator in relation to the fence so that none of the parts would get flipped around.  For my practice run I used the cherry pieces I cut when testing the set-up of the cross-cut miter sled. 

The new blade worked like a dream.  Nice clean, flat bottomed grooves…isn’t that a Queen song?  “Flat bottomed grooves you make the rockin’ world go ‘round.”

Once I was happy with the groovy test results I started dishing up box parts, one species at a time.

A little safety reminder here.  When cutting multiples in a repetitive process remember to pay attention to what you’re doing on every cut.  It’s easy to get a little lax when you’ve just cut over 100 grooves.  The last cut warrants the same attention that the first one did.
Now this is what I call gettin’ a groove on!

Once the grooves were cut it was time to start sizing the bottom pieces.  I used the finished sides to measure from to ensure that the bottoms would fit.

The end to end measurement of the length of the grooves came in at 2 and 9/16 inches.  When setting the rip fence on the table saw I laid the sheet of 1/4 inch Baltic Birch plywood (which will be used for the bottoms) against the rip fence and placed the ruler at the edge of the board.  This made setting the width very easy.  I’m looking for a width that’s a little under the full length of the groove.  I want the bottoms to fit snuggly, but not too tight.  They'll be glued in place, so a little room needs to be left for the wood glue.  I backed off a 1/32 of an inch and set the fence for 2 and 17/32 inches.

I made the first rip and then checked it against one of the grooved sides.  That’s the fit I’m looking for.

I ripped a total of four strips of the Baltic Birch.  The next step was to cut square pieces that will become the bottoms of the boxes.  To ensure the parts were square I used one of the ripped strips to set the distance between the blade and a stop bock on my cross-cut sled.

Once the stop was set, it was just a matter of minutes to cut plenty of perfect squares.

The plan called for a rabbet around the box bottom pieces to create a tongue that will fit into the grooves in the box sides.  It was time for another blade change, the third as part of today’s work.  I installed the 40 tooth Oldham blade and a zero clearance insert.  It’s a wide kerf blade that will cut the rabbets I need in just one pass per side.

I set the blade height to 3/16 of an inch and positioned the rip fence to just under half the thickness of the pieces.  This is another one of those processes that requires your full attention to execute…especially when cutting as many as I needed to.  I had a couple of them jump on me when I accidently lifted the piece just a hair as it engaged the blade.  No injuries, but it sure made a loud pop and got my attention real fast!

After finishing the first bottom I did a dry fit on the Cherry test pieces.

The fit turned out great with all four sides in place.  I noticed a big difference between this time around compared to the first run of boxes I made.  The flat bottomed grooves made fitting the pieces much easier.  I remember having to make multiple trimming tweaks last time without the flat grind blade.

With a successful test under my belt I finished up all the bottom pieces. 

The next step for all these box parts is some serious sanding.  There are still another handful of boxes that are varied in size, so they’ll need bottoms cut as well, and those special Padauk boxes will need to be sized and trimmed to capitalize on that stunning grain pattern.
Boy, I may need to run the AC in the shop tomorrow.  We’re expecting a high of a blistering 40 degrees here in the Twin Cities.  I’m sweating up a storm just thinking about it.   Bum, bum, bum…a tropical heat wave…
Pete

Monday, February 7, 2011

Action Packed Weekend

It’s a double post weekend!  After a couple weeks in the single digits and below zero, it was good to get back out into the shop…and boy did I take advantage of it.
The first order of business was to mill up the stock for this next run of boxes.  After jointing a square edge on each board I planned all the box side and lid stock to thickness using the planer/vacuum set-up that I prepped on Friday night.

I used a handy Craftsman Tool switch that allows the vacuum to be linked to the start switch of the planer.   When the planer is turned on, the vacuum starts automatically, and then switches off when the planer is shut down, with a five second delay to finish drawing any dust and chips.

I collected the planer shavings in a trash bag for use in a future project.

Not a bad pile of lumber after all the work!

I jointed one face on each of these pieces of Marblewood and Bubinga, however, not all of them were able to retain a full 3/8 inch thickness.  I would actually have needed a little more than 3/8 inches to get at least one pass in the planer.  I’ve got some other ideas for these, so back on the rack they’ll go for now.

I had these two Padauk boards set aside as well.  They had already been face jointed and planed to thickness, so they just needed to be ripped down to size.

I jointed one edge…

…and then ripped the boards down to size.  The solid heartwood boards (all red) are ripped to a final width of 2 and 1/4 inches, while the boards with the heartwood and light sapwood were ripped with some extra width to allow for some resizing later.

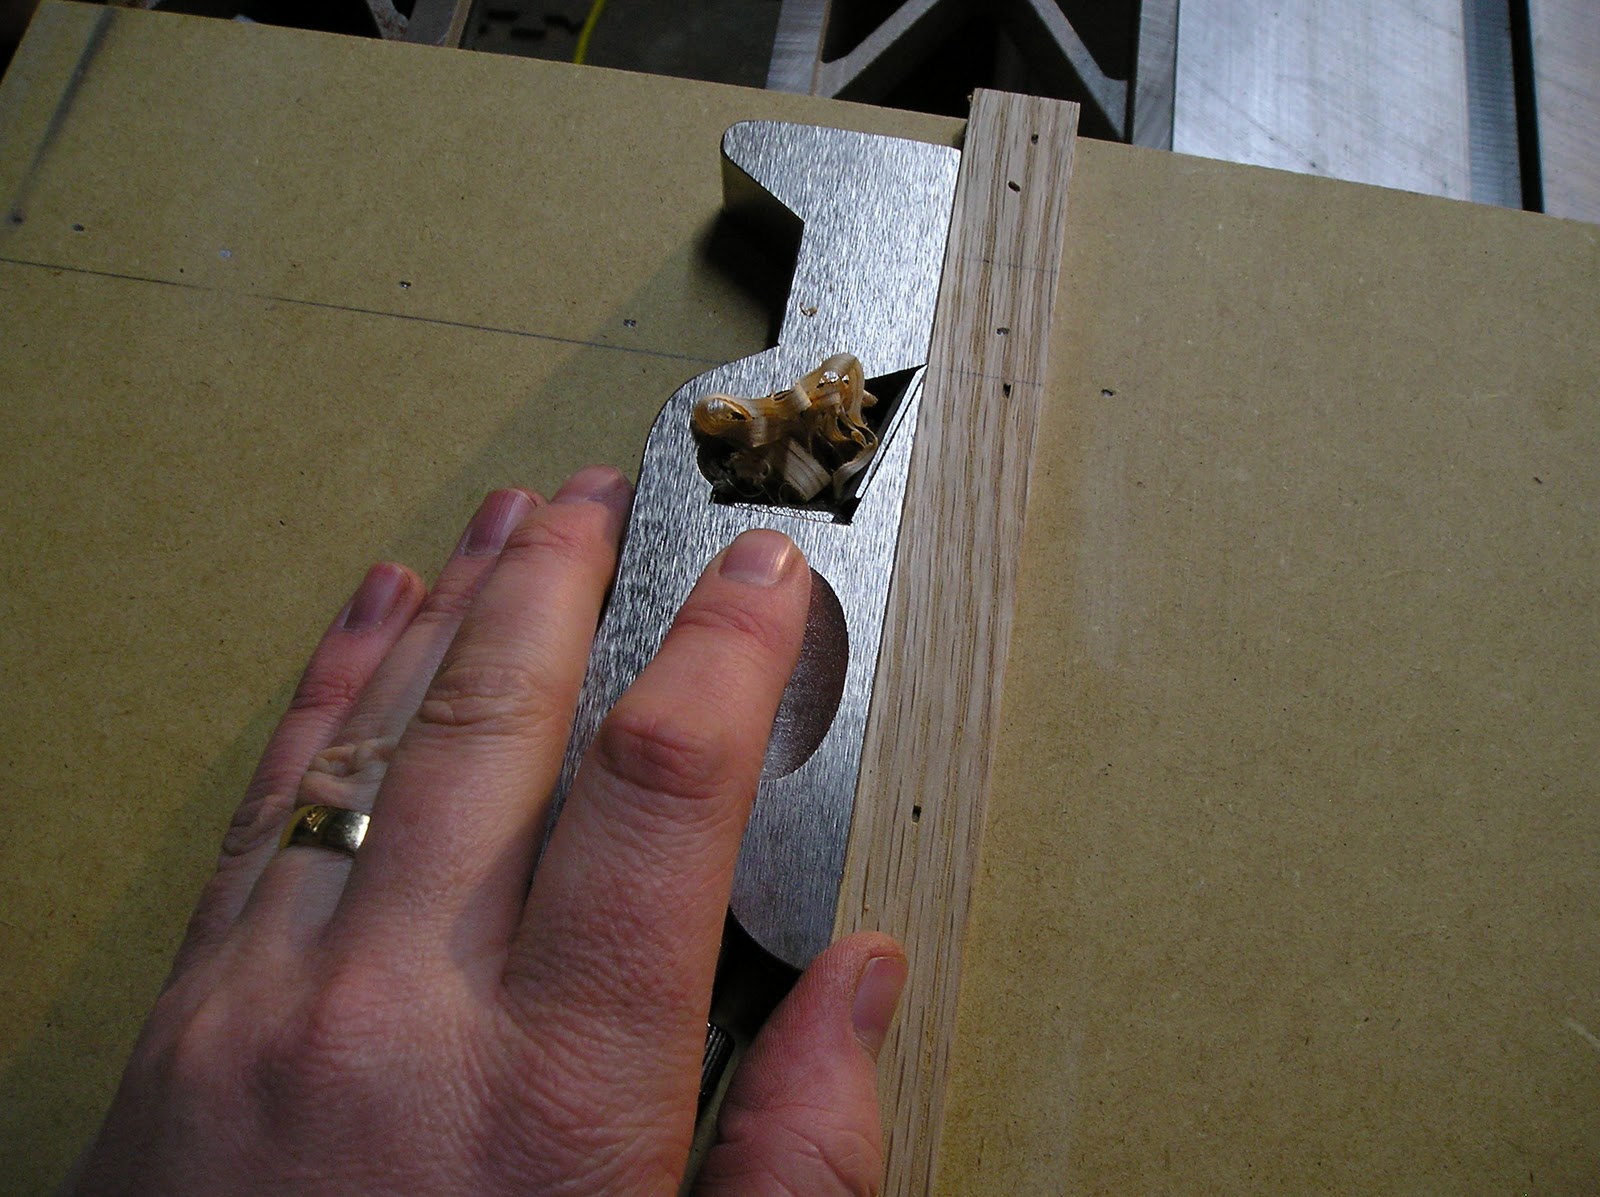
While setting up the miter crosscut sled, I found that the Oak runners had expanded slightly since our move from New Mexico.  I had to make the same adjustment on another crosscut sled several months ago, so I turned to the trusty Stanley no. 92 Shoulder Plane.  Just a couple passes on the outside of each of the runners made for a good fit without impacting the fit of the runners between the miter slots on the table saw.

A coat of paste wax on each runner, and the sled was sliding like silk, with no slop or rocking.
Once the sled was good to go I selected an extra piece of Cherry to test and tune the set-up.  I marked one side so that I could track the process of cutting all four sides.

I designated the marked side as the outside of a box.  The process starts with putting the inside surface face up and trimming the first 45 degree cut on the end of the board.

For the set-up I’m looking for three inch long sides, so I marked a reference line three inches in from the newly trimmed end.

I then flipped the piece so that the outside surface is facing up and used that reference mark to line the piece up with the saw kerf on the rear fence of the crosscut sled.

Once the piece was lined up I clamped a stop block to the fence.

Now all the parts cut against the stop block will be exactly three inches long…or, at least, exactly the same length!
After cutting a box side piece, the board is flipped so that the inside surface is facing up again, and the end is trimmed again to realign the miter cut.
Then the board is flipped again and moved over to the shop block to cut the next piece.

I call it the “Trim, flip, cut, flip, trim, flip, cut, flip, trim, flip, cut, flip, trim, flip, cut” method.  Maybe I need a shorter name.
After all the flipping and cutting is done, I’m left with four sides that have a grain pattern that flows around the corners of the box and these little triangular off-cuts.

Believe it or not, I’m saving these little pieces for a purpose…another second wind aspect to the project.
Once all the sides were cut, I tested a dry fitting of the pieces for square.  All four parts lined up beautifully and the machinist square told a great story.  Those are some sharp 90 degree corners.

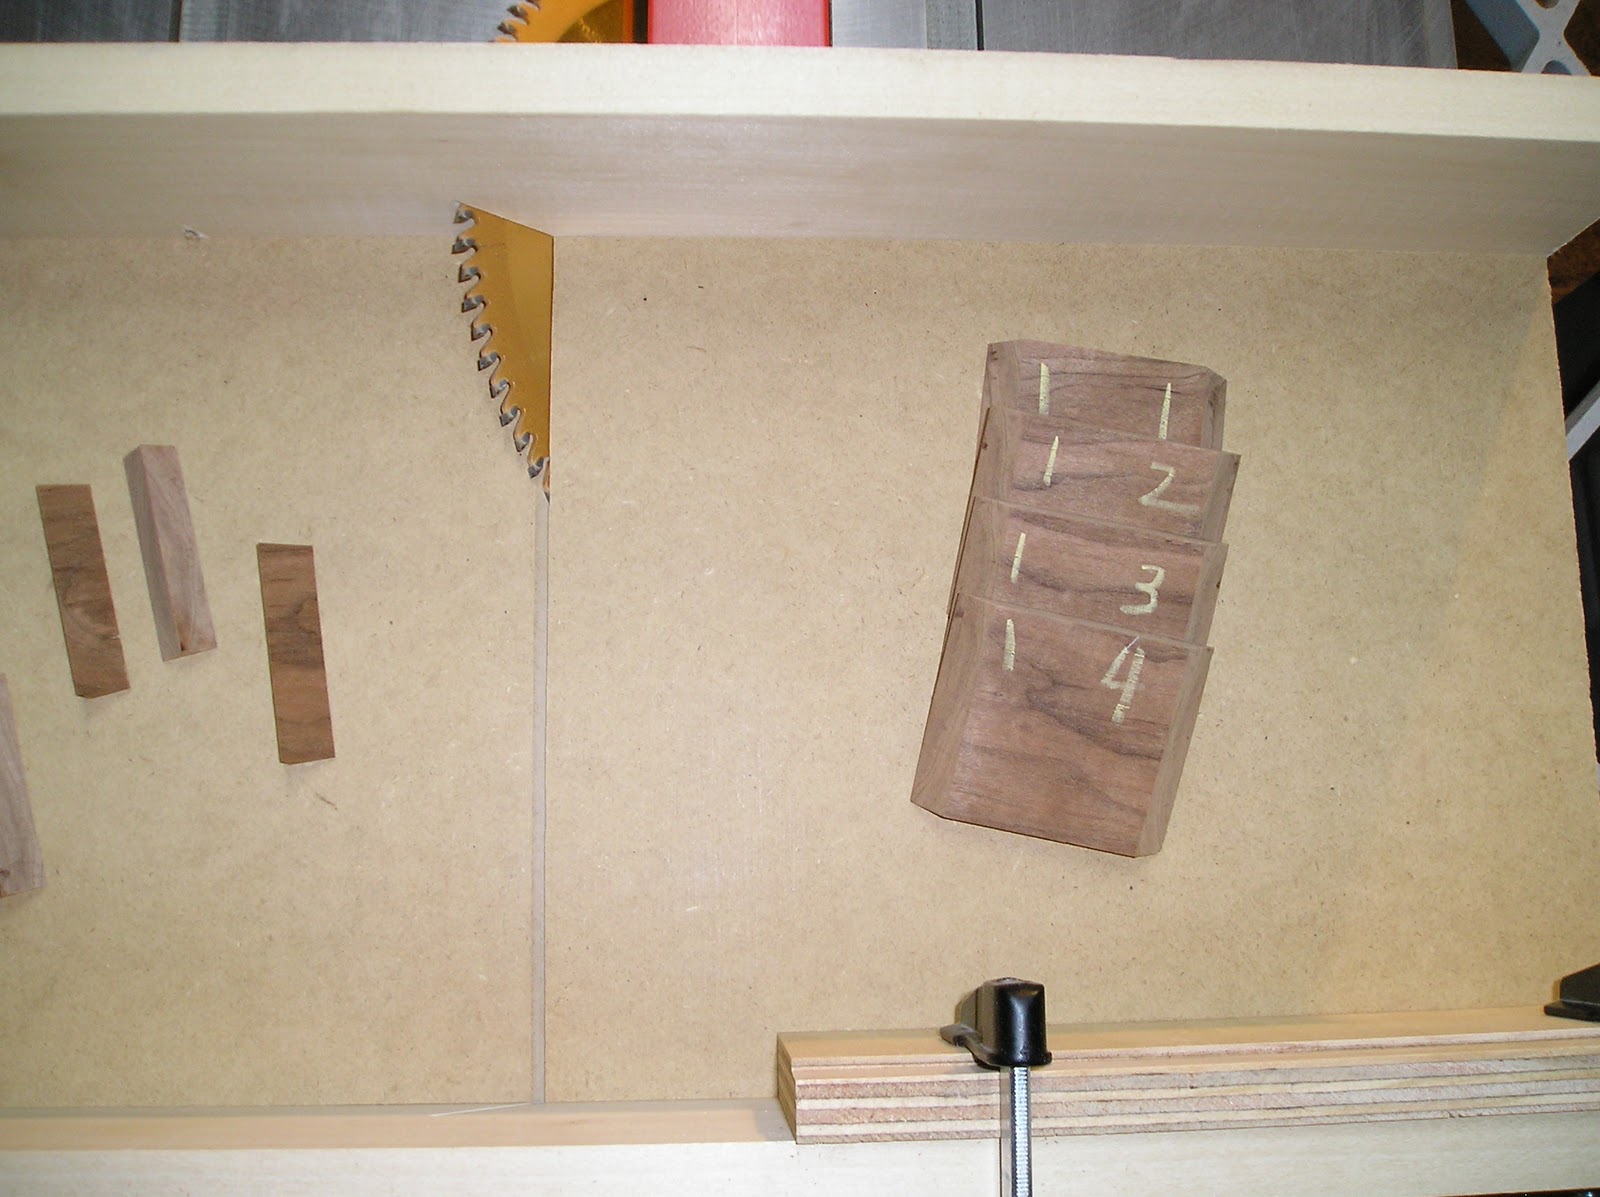
After a successful test I started cutting parts.  I labeled each piece with a box number (left corner) and numbered each of the four sides in order (right corner.)

Now for a look at those Padauk parts up close.  You can see how that heartwood/sapwood transition will flow around the corners.  By leaving these parts a little oversized I’m giving myself some room to trim from the top or bottom of each piece to ensure that the transition line flows around all four corners of the box.

And here we have the whole gang all together.  That’s 34 boxes waiting for the next stage.
 
There is only one thing that this many box parts could mean…that there is a lot of sanding in my future!
Remember those little triangle bits?  I set aside a small pile of them…some from each wood type.


Many of these boxes will have triangular keys in the corners and these little guys will be perfect to trim those pieces from.

Next weekend’s forecast…33 degrees on both Saturday and Sunday.  Looks like we’re headed toward getting back on track with the project list in the Second Wind Workshop!  There are a couple of Stars games though…hmmm, if it’s not the cold it’s the hockey!
Pete

Saturday, February 5, 2011

Don’t let the (old) man (winter) get you down!

Yesterday was a balmy 34 degrees here in the Twin Cities, so with no heavy snowfall in the forecast I parked the truck outside for the first time in a long time.  I fired up the shop heater as soon as I walked in the door and gave it some time to warm up.  Later in the evening I was able to start prepping the shop for some, long overdue, work this weekend.  It’s been a couple weeks since we’ve had some workable temperatures!
I’ve got a stack of resawn stock ready to be planed to thickness from the last session in the shop.  With the open garage stall, I’ve got room to set up the planer with a vacuum while keeping Minnesota at bay.
In the spirit of a second wind, I’m going to harvest the planer shavings for another project…more on that at a later date.  To collect the shavings I lined the inside of the shop vacuum with a new trash bag.

This will be the first time I’ve run the planer with the dust chute and a vacuum.  In the past it’s always been warm enough to roll the planer outdoors and shoot the shavings onto the driveway to be swept up after.

Some of the faces need to be touched up on the jointer before bringing them down to the final thickness of 3/8 of an inch.

I also culled through the wood pile to set aside some thicker boards for box lids.  I’ll be using the standard 3/4 inch thickness for some of the lids, however with some thicker stock on hand, I thought I’d play with some 7/8 inch thick pieces and try a few extra creative things.  I have a pretty wide assortment laid out for the lids…Zebrawood, Walnut, Bubinga, Wenge, Curly (Tiger) Maple, and some Quinella.

With all the parts labeled and laid out I’m ready to get to work again today…after the heater runs a bit…and another cup of coffee.

I’m also going to start working with some of these smaller, book matched, pieces (aprox 2 X 6 inches) that I’ve had hanging around for a while now.  I’ve got about three dozen pairs of the lighter colored Marblewood (on the right) and a handful of the Bubinga.

The challenge will be milling these small pieces with the planer.  I’ll need to gang them together as I run them through so that nothing gets stuck or torn up.  A drum sander would be ideal for pieces like this, but alas, the drum sander fairy is nowhere to be found…probably stuck in the snow over in Michigan or Illinois!
Pete